She had her frozen party.

Sorry, I don’t have many pictures –

I can say she had a blast.  And loved it all.

We did ‘melted icycles’ (blue powerade) in fancy plastic champagne cups,

blue popcorn, blue cupcakes, and some fun little decorations.

We didn’t go overboard…she played at the park with her friends and had a wonderful time.

And now she’s five.

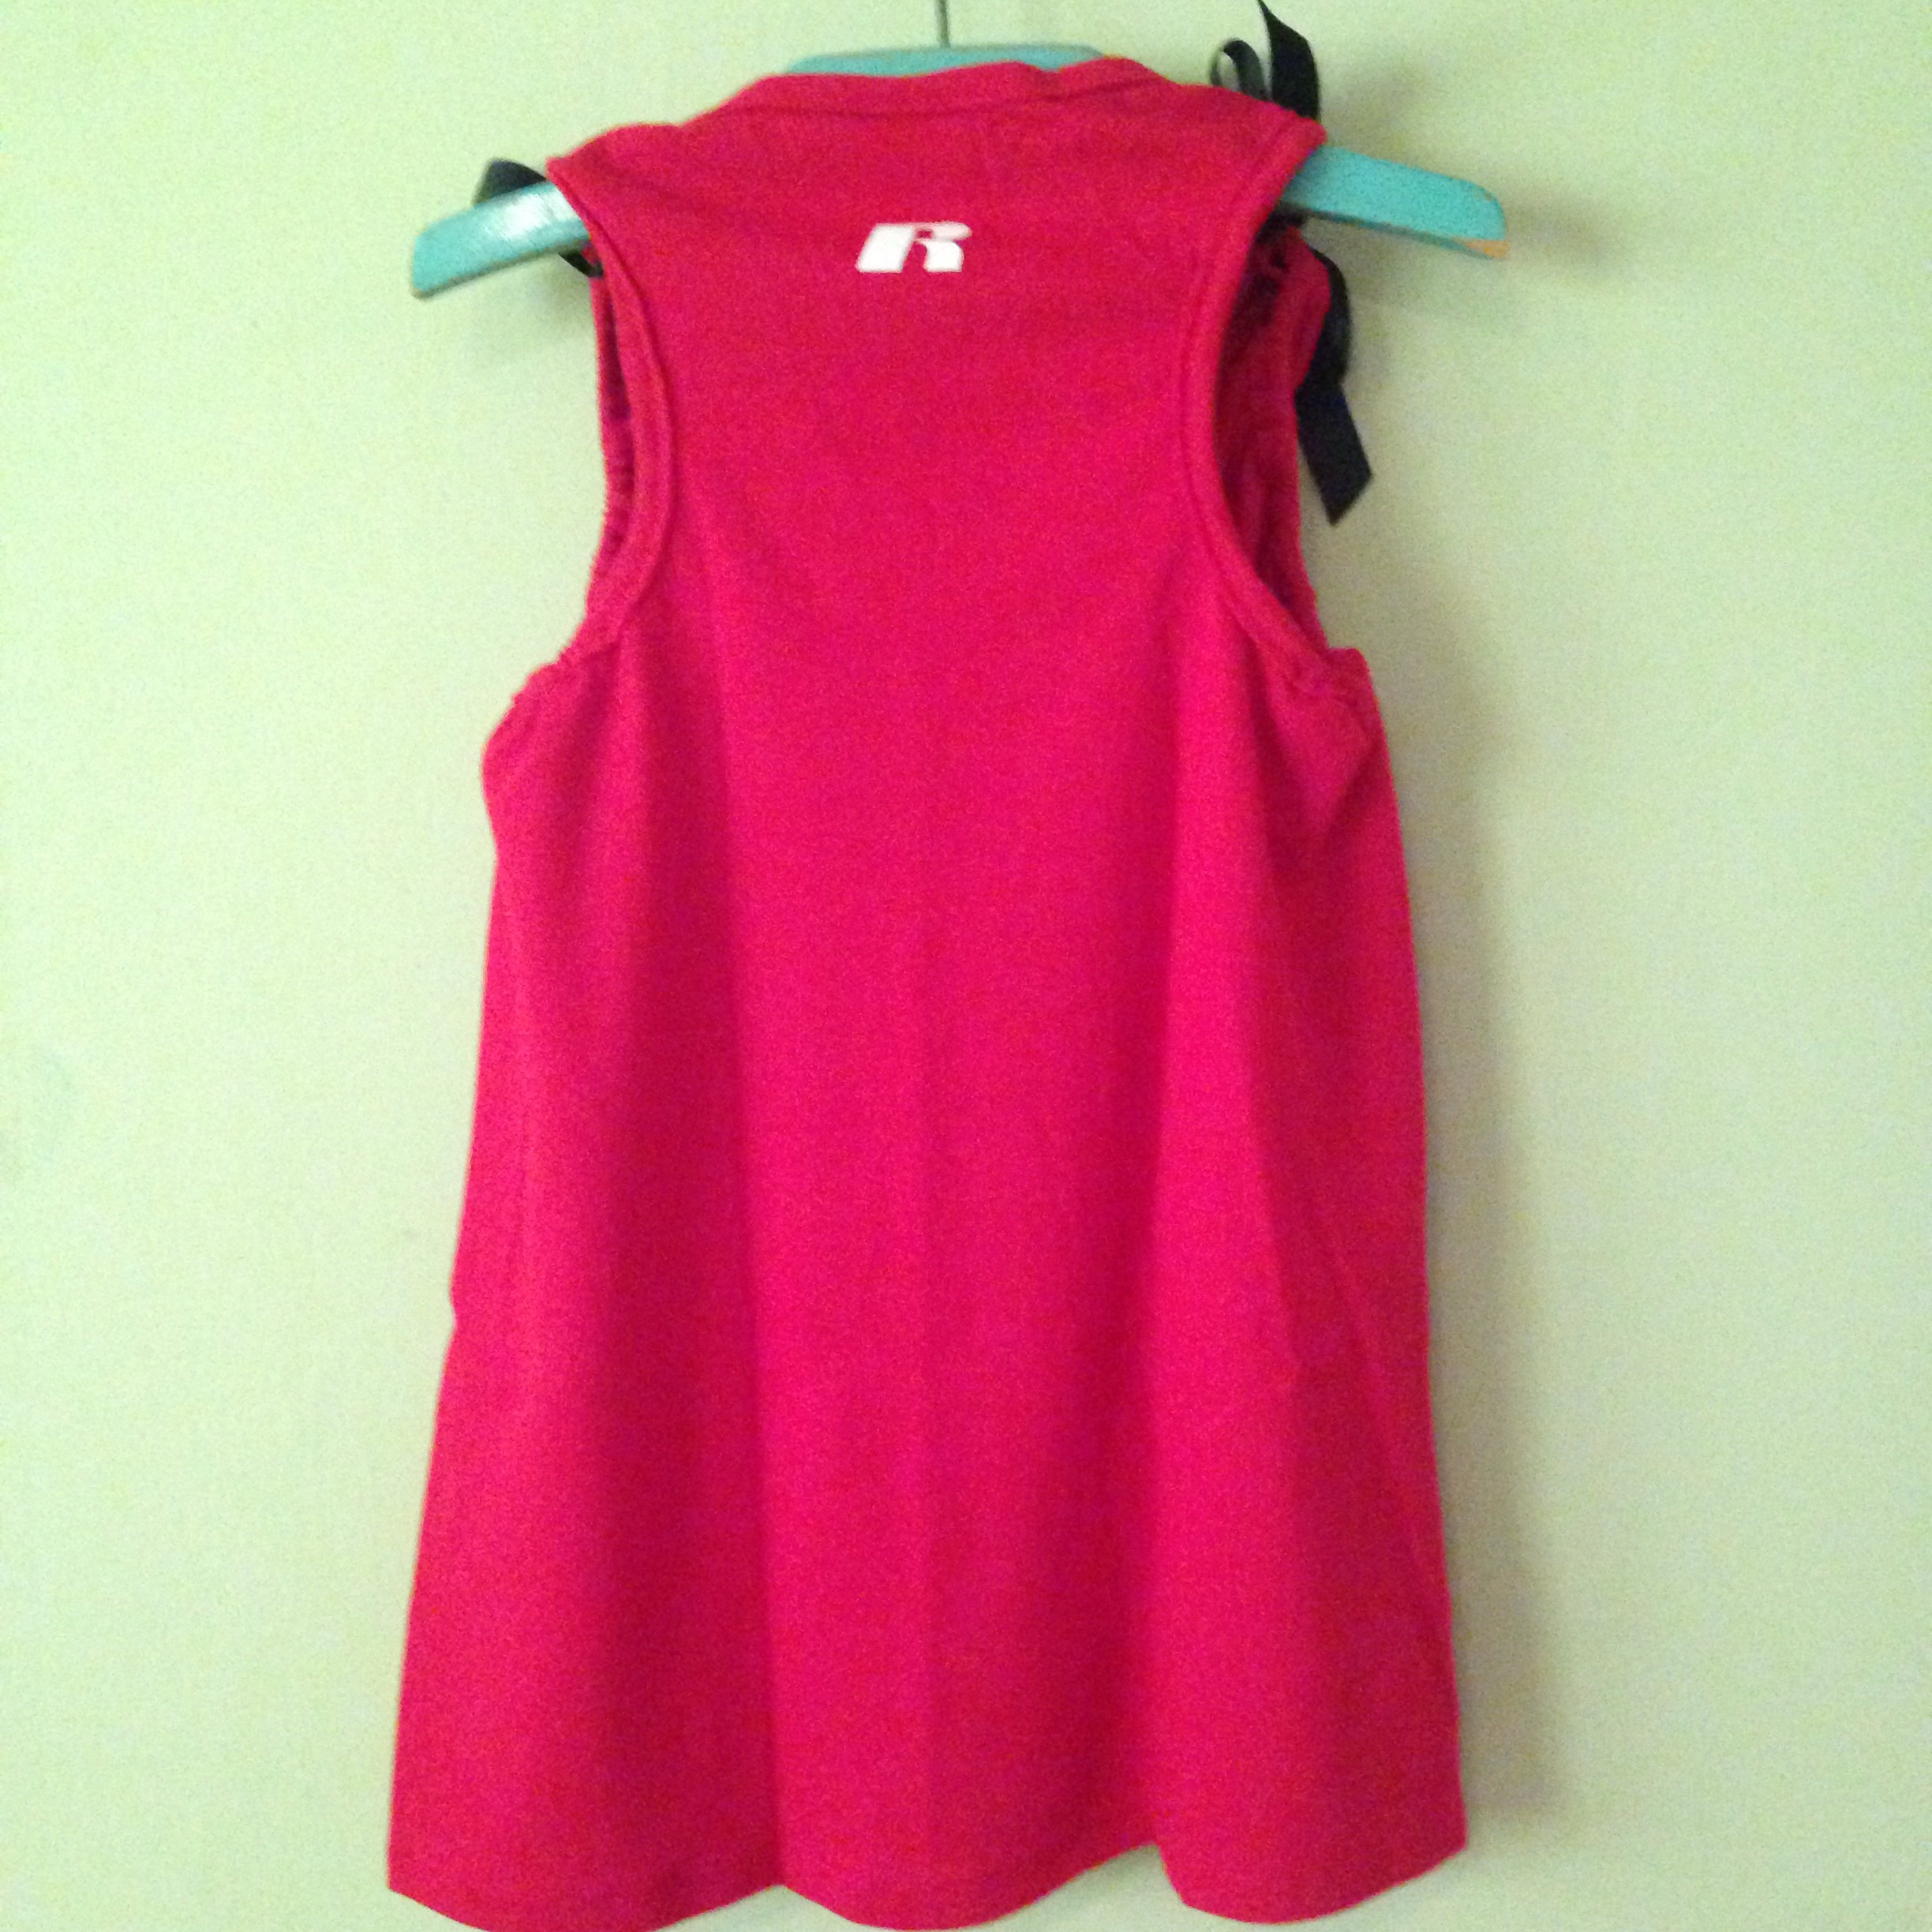
The dress… found a perfect pattern over here at Peek-a-Boo Designs – it’s free to download — The pattern is a perfect size 4T – fit my little one perfectly – check the length before you do a elsadressfinal cut/hem to the skirt – if your little ice queen is a tall one, you may want a couple more inches on that.

Here are my little alterations – If you are comfortable with a machine and the fabrics you are using try them out! My way, or the Peek-a-Boo way, you are going to come out with a great dress!  Enjoy!

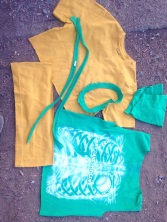
  • I used knits – because they are more comfortable to wear for children than itchy costumes and, I hope, will hold up better.
  • I only did have the width of the skirt – wanted less of a  poofy look for this one – had I thought of it, I may have extended the bodice down and made it a full dress without the waist band – if that makes sense?  I think that would work pretty easily…who knows? Maybe I’ll try that again someday.
  • I had a thick polyestery chiffony fabric I grabbed at Goodwill – So I didn’t use tulle.  I folded each outer edge into the center where they met in the middle. Hope that makes sense?
  • I also sewed the cape in between the bodice and ‘undershirt’ rather than adding the strip to cover it.  You may kind of have had to have done something like this before to know what I mean, but even if not… I’m sure you can figure it out – takes a little sew, flip, sew again kinda trick. I like the way it layed with that. Not sure I would have bothered with tulle – as it will all fluff up and be awesome any way you sew it ;).
  • I had to add a strip across the back to keep it from falling off of her shoulders.  So, maybe make the ‘scoop’ a little more shallow?

Alterations or not, it is a great pattern and if you’re looking for a simple way to put together a Frozen, Ice Queen, or just a pretty princess dress – this is a good one.  Highly recommend!  Happy Sewing!


No Sew T Shirt to Dress – again!

We did it again!  Because there are just far too many adorable little sisters rooting for their big brothers –  

Angelstshirtdress    Angelsshirtdress2

This little cutie has a brother playing for the As – so I scrounged up some t shirts in the right color, pulled up a comfy chair at baseball practice and starting snipping…shout out to my baseball moms for your input!

So, here’s how you get there – 

Choose your shirts – the bodice shirt should be a good imagefit or close to – it’s ok if it’s a little baggy – but if it’s too big, you’ll need to go a different route with this – which could also be done without sewing – comment if you do, and I’ll help you get there 🙂 – but let’s stay focused…

The how to is a bit wordy – it’s really easy and quick, though, promise 😉

Take your t-shirt that you will use for the skirt part of the dress and chop it off – just below the armpit.  Don’t worry about the length for now.

Cut a long strip off the top about 1-2 inches wide – what you will do here is start, circle around once (only cutting through one layer at a time) – don’t meet your starting cut with your finishing cut – you are going to taper down a little and go around the shirt again so that your ‘ribbon’ is three to four times the circumference of the shirt – you need a long enough strand to wrap around the waist of the child and tie bow, one strand to go around the imageneckline and tie a bow, and two strands long enough to go around the arm holes and bows on the shoulder.  If anyone needs help with that, I will gladly do that again and get a better visual of that for you.  I’m sure that I can find a reason to do this again :)…

You can cut a little length off the top of your skirt, or save that until the end and cut length off the bottom.  Raw edges are good…

Cut the neck-band and sleeves off of your bimage
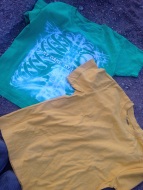
odice  shirt. You can also cut the hem off  so that you will have a raw edge.  If your shirt is bigger, cut the shirt to length you want it…

Cut horizontal slits in at the bottom of your bodice, and coordinating slits at the top of your skirt.  It’s probably ok if they are vertical slits, but less chance of ripping with horizontal.  Your slits should be just wide enough to slip the ‘ribbon’ through, and mine were about 2-3 inches apart from each other.

Turn your ‘skirt’ inside out, tuck it inside the bodice, so the top raw edge of the skirt meets the bottom raw edge of the bodice.  It’s wrong in the first picture – that’s how I started (right side to wrong side), but changed my mind.  So, you can see what not to do :).  For yours, wrong sides should be together. The wrong sides (like the second picture) together creates a cute little trim/gather when you are finished…

image image

Start in one of your front center slits (I had them slightly off-center, so the bow will fall in the center.  Thread your ribbon in first so there is a strand hanging out the front. Thread alternating in and out until you meet back up in the front to tie a bow – if you end up a slit short – just snip another one :).  Gather a bit, and tie your bow.  You can adjust the gather once you put it on your ‘lil sis.

Moving on to the bodice –  This part is completely optional – you can leave them raw with imageno embellishment – but adding the ‘ribbon’ adds a little more character and allows for a
better and more customized fit –

For the neck – cut slits around the neckline (parallel to the edge – I’d say horizontal, but it curves…so ya know – go along the edge about an inch or so in from the edge.  I put my bow in the back (ADORABLE) because my shirt was so busy in the front.

For the arm holes – cut slits around the open arm holes, again parallel to the edge.  I put my bows a the top of the shoulder.

If you run out of ‘ribbon’, just cut another strip from the skirt.

My dress was made for a little one that wears a size 18 m, so I didn’t even try to make it a full length dress – because, well…that doesn’t work so great with all the climbing around at the ball park.  If you do care to sew, you can even use your discarded sleeves to make some shorts or bloomers.  I didn’t do that this time around.

I gave sweet little A’s Mama the left over  scraps from the shirts, and she tied them up into a perfectly awesome southern bow.  And I knew she would – cause she’s one of my go to gals for bows.  Didn’t she do a great job? And doesn’t she make beautiful babies?

image

No Sew T Shirt to Dress

It took me longer to write this tutorial than to make the dress – no joke.

Give it a shot!

First, grab your supplies –  I started with a youth size medium sleeveless racerback T shirt – this will work with any sleeveless shirt with a binding.  We’ll try it with a regular t shirt next time…

You will also need –

  • IMG_1753
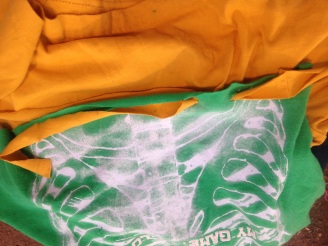
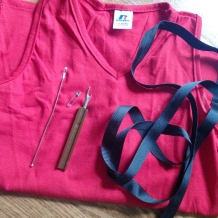
Scissors or a seam ripper
  • About 3 – 3.5 yards of ribbon (1/8″ is easy to pull through – you could go up to 1/2″)
  • A Bodkin (this is a sewing tool used for threading elastic and turning things – mine is ball point) or a safety pin small enough to fit into the binding.  Make sure it’s nice and sturdy.

Grab  your scissors and start snipping:

No Sew Shirt to dress

Now grab your ribbon and bodkin or safety pin:

No Sew T shirt dress ribbon threading

A few close ups of the Ribbon Threading to help you along:

And there you go! Pull your ribbons through and tie off as desired, trim to the length you like.  I found it best to make sure the shirt is gathered in the front and not in the back – it will lay better that way.

Embellish your dress, and make it awesome! Here is ours finished (though as of yet unadorned) – best pictures I could get with my ‘I’m not so much in the mood for this right now’ model –

imageimageimage

Hope you enjoy – Happy NO SEWING!!!!!

Will Trade Bunny Pattern for Reviews!

I’m looking for a few souls to try out this bunny – bunnies

I made one for my daughter and she absolutely adores it, so I made some more – and I plan to make lots more. She’s adorable, soft, floppy and oh so fun and fabulous. can you tell we like her?  I just wasn’t too crazy about the patterns I found, not that they aren’t fabulous, just couldn’t find what I was looking for – so I made my own.

I  have the pattern uploaded and ready to send and the instructions will be ready later today – just need some willing and able bodied sewers!  This is a fairly simple pattern – though the first I have drafted and shared – so I appreciate your honest feedback and patience throughout the process.  This can be sewn by beginners – just be comfortable with your machine and a little twisting, holding ears down, etc.  Probably best for intermediate level sewers at this draft level?  I don’t know! That’s what I’m hoping you will help me find out.

What you’ll get – the draft pattern and instruction for personal use and review (no selling, sharing, or distribution of the pattern or finished product selling, etc. please.)

What I’ll ask of you – your honest feedback on what you liked and didn’t like about the pattern and your finished bunny or bunnies.  I’ll send a few brief questions along with the pattern, but welcome any and all questions and comments before, during, and after completion.

Once reviews have been completed, I’ll do my best to adjust and correct the pattern as quickly as possible and send you a final copy along with a limited license to create bunnies for resale (not to resell the pattern 😉 ).

Please respect that fact that I am ‘putting myself out there’ on this one, and as a fellow learning sewer, I appreciate your not blogging your review until a final and completed/corrected pattern has been provided to you.

Draft patterns for review will be limited! I can’t wait to see what you create!

Happy Easter!