This is the fun part – and where you get to see things start to coming together…
*Updated – all complete – Part 5 will get into a little more detail on the outer columns…because, really, how much can we absorb at once? Enjoy!
This will be a long post with lots of pictures and some commentary on what I did. Remember that your quilt will be different, and you don’t have to do what I do – make it your own! I just hope that you can learn something helpful. Also, with this one being so long, please know that I will not be doing everything in this post in one sitting. I will be chunking as much as possible – mostly because, really, who has the time to sit and do this all in one sitting?
Look at your layout, make a plan for the day or even hour that you have right now and think about what your stop point is. I am going to try to finish a colum in a sitting, but if I can’t, maybe I can just get trim pieces cut, or a couple of blocks ready to sew together…
I have all of my shirts pinned onto a sheet where I want them to land on the finished quilt, and I am taking them off as I work on each section. This makes it easy to roll it up and put it away if you need (this actually happened when Papa came by – can’t get caught!!!)
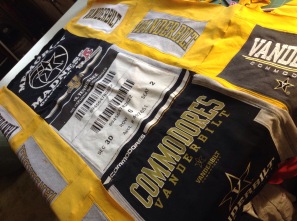
I am going to start on the center column. That’s my main focus, so I want everything else to work with that. If all of your shirts are cut the same size, you can start wherever you want. This is one of those moments where I wish I had left everything uncut until I was sure about my layout…but at the end of the day, I think I am happy with it so far, so all is well…
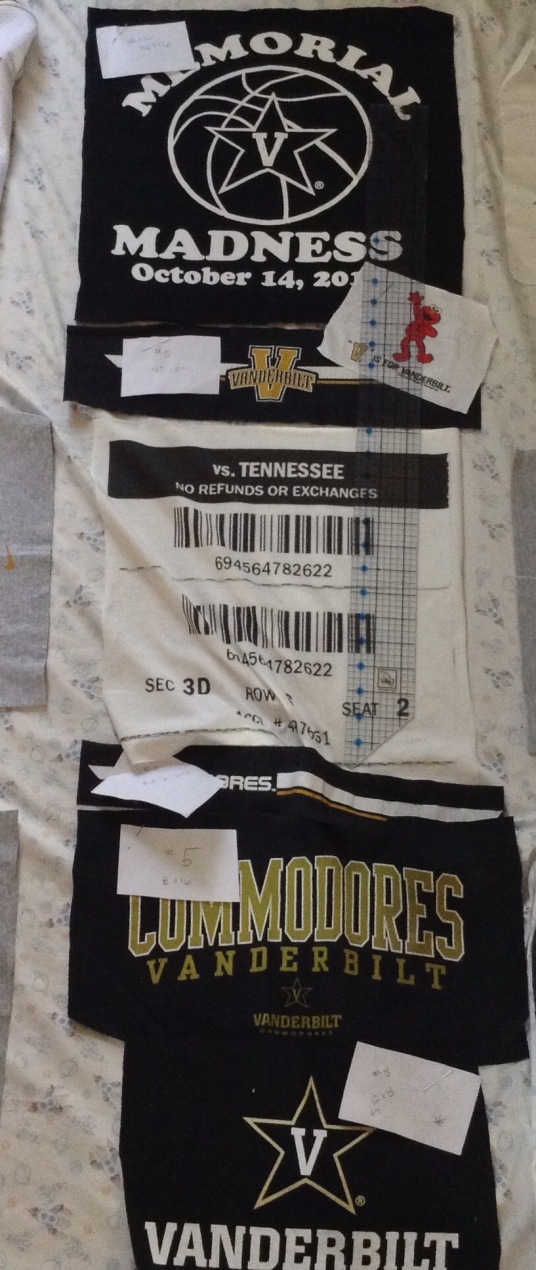
 I want everything to be the same width here…so I will take some of my leftover grey t shirts and make strips to widen the pieces that were too narrow. You have some options here…I decided to do strips because I want a more sort of quilted look. If you want to make this a little easier or faster and you have enough shirts to work with, you could just just stitch your pieces straight onto a full size block and let the raw edges show. May do that on another one someday. I’ll cut all my strips a little wider than I think they need to be, figuring I can always cut them smaller later…
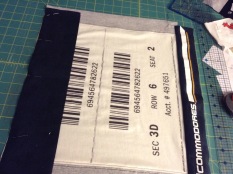
I am laying them out around my shirt pieces to figure what direction etc I wanted them to end up…don’t forget … MEASURE TWICE, CUT ONCE! Now, I am going to sew the pieces together that don’t need trim, or that will be trimmed together. On the piece in this photo, I’ll go ahead and add the side trim so I can attach the longer pieces on the top and bottom without having to try to squeeze in the trim later.
Now to sew on the trim… And even things out a bit. 
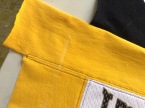
I will attach the trim, flip everything to the back side and press my seams open – I neglected to take a picture of this – but I’ll try to get you one later. Proper quilting technique would be to sew your seams over together to the dark block, but I want add top stitching, so I opened them up instead so I would have two layers to sew. I’m hoping this won’t cause a problem with durability later? This is entirely up to you…
 Little bonus tip – see how everything waves a alittle after it’s sewn together? don’t worry too much about that – check your tension and all of that – I find that it ironed out nicely. So, no biggie. Also, you’ll see if you look closely, that I made a mistake in my trim measurements, and ended up adding more – it happens. It’s fixable. Golden Rule. Measure twice…cut once…sigh.
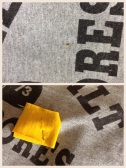
Now I get to work on Elmo..I don’t even want to attempt 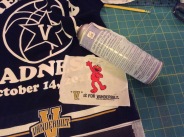 to make him his own block…so I’ll grab my basting spray and stick him where I want him. Any temporary fabric spray will work for this. Or even basting glue (did you know it comes it sticks? Very handy for patches and such…completely off topic). The extra fabric will pull right off and the spray or glue will wash out. I prefer the spray on things like this…just cause.
 With Elmo stuck on, I am just going to sew around him as closely as possible…I did a straight stitch because it is so small…you could do a zig zag or decorative stitch here. Please don’t judge my not awesome stitching here. Isn’t Elmo awesome? Still my favorite detail…
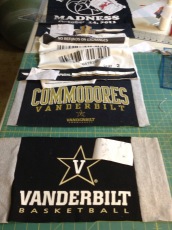
And now it’s time to to attach all of these blocks 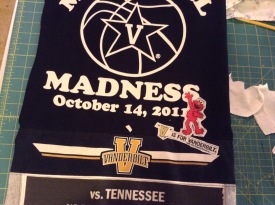 together…This part feels good…like some realy progress happening.
I did notice that my bottom block is cut a little close to edge, so I will add a strip there. I don’t think that would be a big deal if I were adding another block there, but that is where the binding will go, so I want a little more room to work. I’ll save that job for later, just in case I decide to add more blocks around the whole thing, or about how I want to do the binding. I can change my mind, right?
So, there you go…one column done. Next I will lay that out with everything else that is waiting for blocks and see how it’s looking.

And me likes…so now I get to move on to the two surrounding rows…
All right, here goes some more…are we having fun yet?
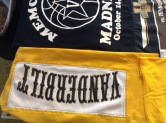
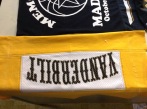
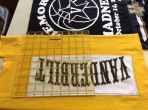
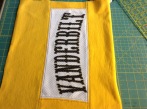
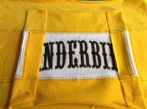
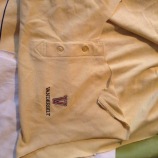
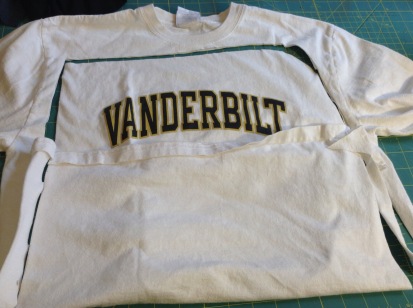
I want these next rows to be a little narrower than the center row – so they’ll kind of frame it – so I’ll do the same process again – measure how big the strips need to be, cut them a little bigger than that so I have room for mistakes. I didn’t have any yellow t shirts, all I had was a yellow sweatshirt – but I am saving that for later…so off to Goodwill….I came with a bag full of yellow shirts…probably more than I need. When I started shopping, I was a little worried about everything being too many different shades of yellow and 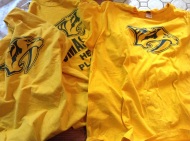 having to make sure I balanced those out with each other…but, alas, I hit the JACKPOT…4 Nashville Predators Gold Out shirts, and a Vandy bookstore shirt – all the same color. Because I’m HAPPY! They look a little different in the photo – lighting, different wear…but they all look great and matchy matchy in person…did I mention I’m HAPPY? Doesn’t take much…
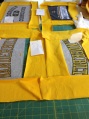
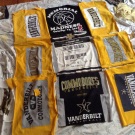
Moving on…I’ll not bore you with going the the strip process again…just a few pics of the process – laying it out, etc…and I discovered a hole in one my shirts, which I marked to fix later.
 Moving right along – here’s
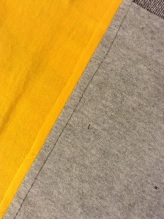
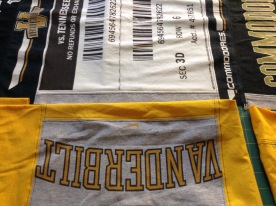
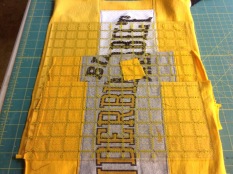
 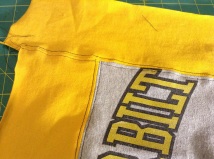 a shot of the seams ironed open…I turned it over and stitched about 1/8″ on both sides of the seam. so it looks like this (ignore the waves…they’ll go away):
This is where I get a little nervous – I’ll measure all of the center column blocks and figure out how I want to center the gold blocks with those – and hopefully not forget to add my seam allowances…cross your fingers…
Here we sew again…
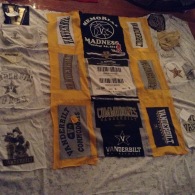
Here is the center all sewn together and trimmed up, and then the surrounding rows laid out so I can see if that’s going to work out…
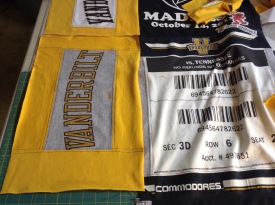
 Ok…I think what I will do here is center the top blocks first. So I will measure the one on the center column and cut the gold one to the same size, plus my 1/4″ seam allowances.
For the second one, I want that to center with ticket block and will include the two skinny black pieces in that measurement.
And, for the third, that will center with bottom 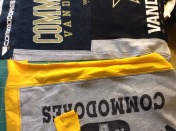 two pieces on the center row. Probably should right down the measurements (and keep up with them) for the column on the other side…
 Ok. Decision time…I have decided at this point, rather than add that grey strip to the bottom on the center column, that I will frame the whole thing out in grey. So, there will be that, plus the binding. Maybe adding a little unnecessary work for myself, but I’m ok with that. I’ll probably change my mind anyway….
Because I want my designs centered, I am going to fold them in half, evened up on the design, and measure/cut from there. Not a good time to ignore the Golden Rule...
Before I cut, I’m going mark where I think I’m going to cut…and line that up with my block..just in case….
The top block and the bottom block should be only 1/4 longer…for the bottom seam….the center one will be 1/2 inch longer. Confused yet? Me too…
Looks like mine is a little too big…that is likely due to the fold…I’m kind of ok with that right now…because I can shave off the extra in a bit…I’m double checking and I’m cutting…
I am ONLY cutting the top and bottom right now…which, in this case, looks like the sides…but it’s not. I will cut the sides with the other blocks. Because I want to. Quilters, don’t hate. I would not attempt that on something larger than this….ok, maybe I would…
And I am having a DUH moment…I know I need an extra quarter inch on the bottom…and I have cut that…my marks turned out to be only about a quarter inch to big…so I can cut the top 1/4 inch shorter than the bottom…measuring from the design. I think I thought of this coming into to this point, but it just came back to me…lets double check that…and go for it…
 And I changed my mind…I am going to go ahead and cut the width…because I should. I know I want them to be about 11 wide, so I’m just going to grab all my blocks and make sure that s going to work…
Looks good…leaves about an inch and a half gold border on the widest grey block…so we are cutting to 11.5 inches wide for seam allowances on both sides.
Now I am going to center that up with the top block for the other gold column…and cut them the same…save some work later and I don’t have to keep up with measurements…
![IMG_3269[1]](https://sewmanysheets.files.wordpress.com/2014/12/img_32691.jpg?w=179&h=133)
Shorted it a bit for the second block…but looks fine…I will just make the bottom block a little taller. Only I will know, right?
Ok. I am sewing all of these columns together and and adding them to center…
Easy stuff, right? Should be…seems it doesn’t Mather how much I measure, check, layout, measure, check, layout, repeat… I am destinedabout a half inch on the other. for mistakes….
I have about an inch and a half hangover on one column…
Ga. I’ll figure it out. I’m going to stick with the center columns to measure out the outer columns. It will work itself out, right? Ok. Moving on.
Here, we are laid out to figure out what to do next. My bottom blocks are pretty square and big compared to the others. , so I’m doing those like I did the others. Just to keep things consistent…
Now we have to figure out what to do with all of these random smaller pieces…I’m thinking I’ll make some long black strip blocks and just appliqué them on…might do the little chest emblems in a strip as wide as the blocks just to break things up a bit? Hmmmm…
I’ll save all those details for the next post just to keep you from losing your mind and move on to just putting the last 2 columns on…
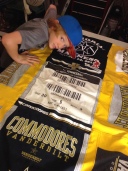
Outer columns being put together is going much more smoothly than the gold ones...pretty much the same process – at this point, I’ve decided to hang it up on the wall – I just stuck a long strap in the wall with thumbtacks and clipped everything on with clothespins – Like this much more than spreading everything out on the floor. Helps to visualize everything, too.

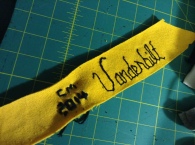
You can’t see it in the photo, but he is wearing a Vanderbilt shirt, ’cause that’s how we roll…
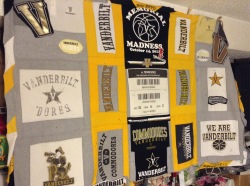
From this point, I got the side columns right and sewed them on, and the top is DONE. And that just feels good – some how, I managed to not get a good shot of that, but here’s one of my elves…so that makes it ok…
I hope you are tackling your own T-shirt quilt by now! Stay tuned and we’ll get it all put together…I keep telling my family that it’s “almost done”…CAN’T WAIT!
Cindi
All done with this post…see you next time!


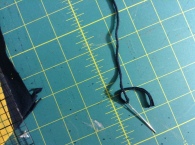
 I didn’t make a full continuous length yet – I took a few long pieces and pinned them to quilt edges to see how I liked the placement with the t-shirt pieces…
 making my life easier is very important sometimes. This will work on a t-shirt quilt – probably not so much on a traditional one….
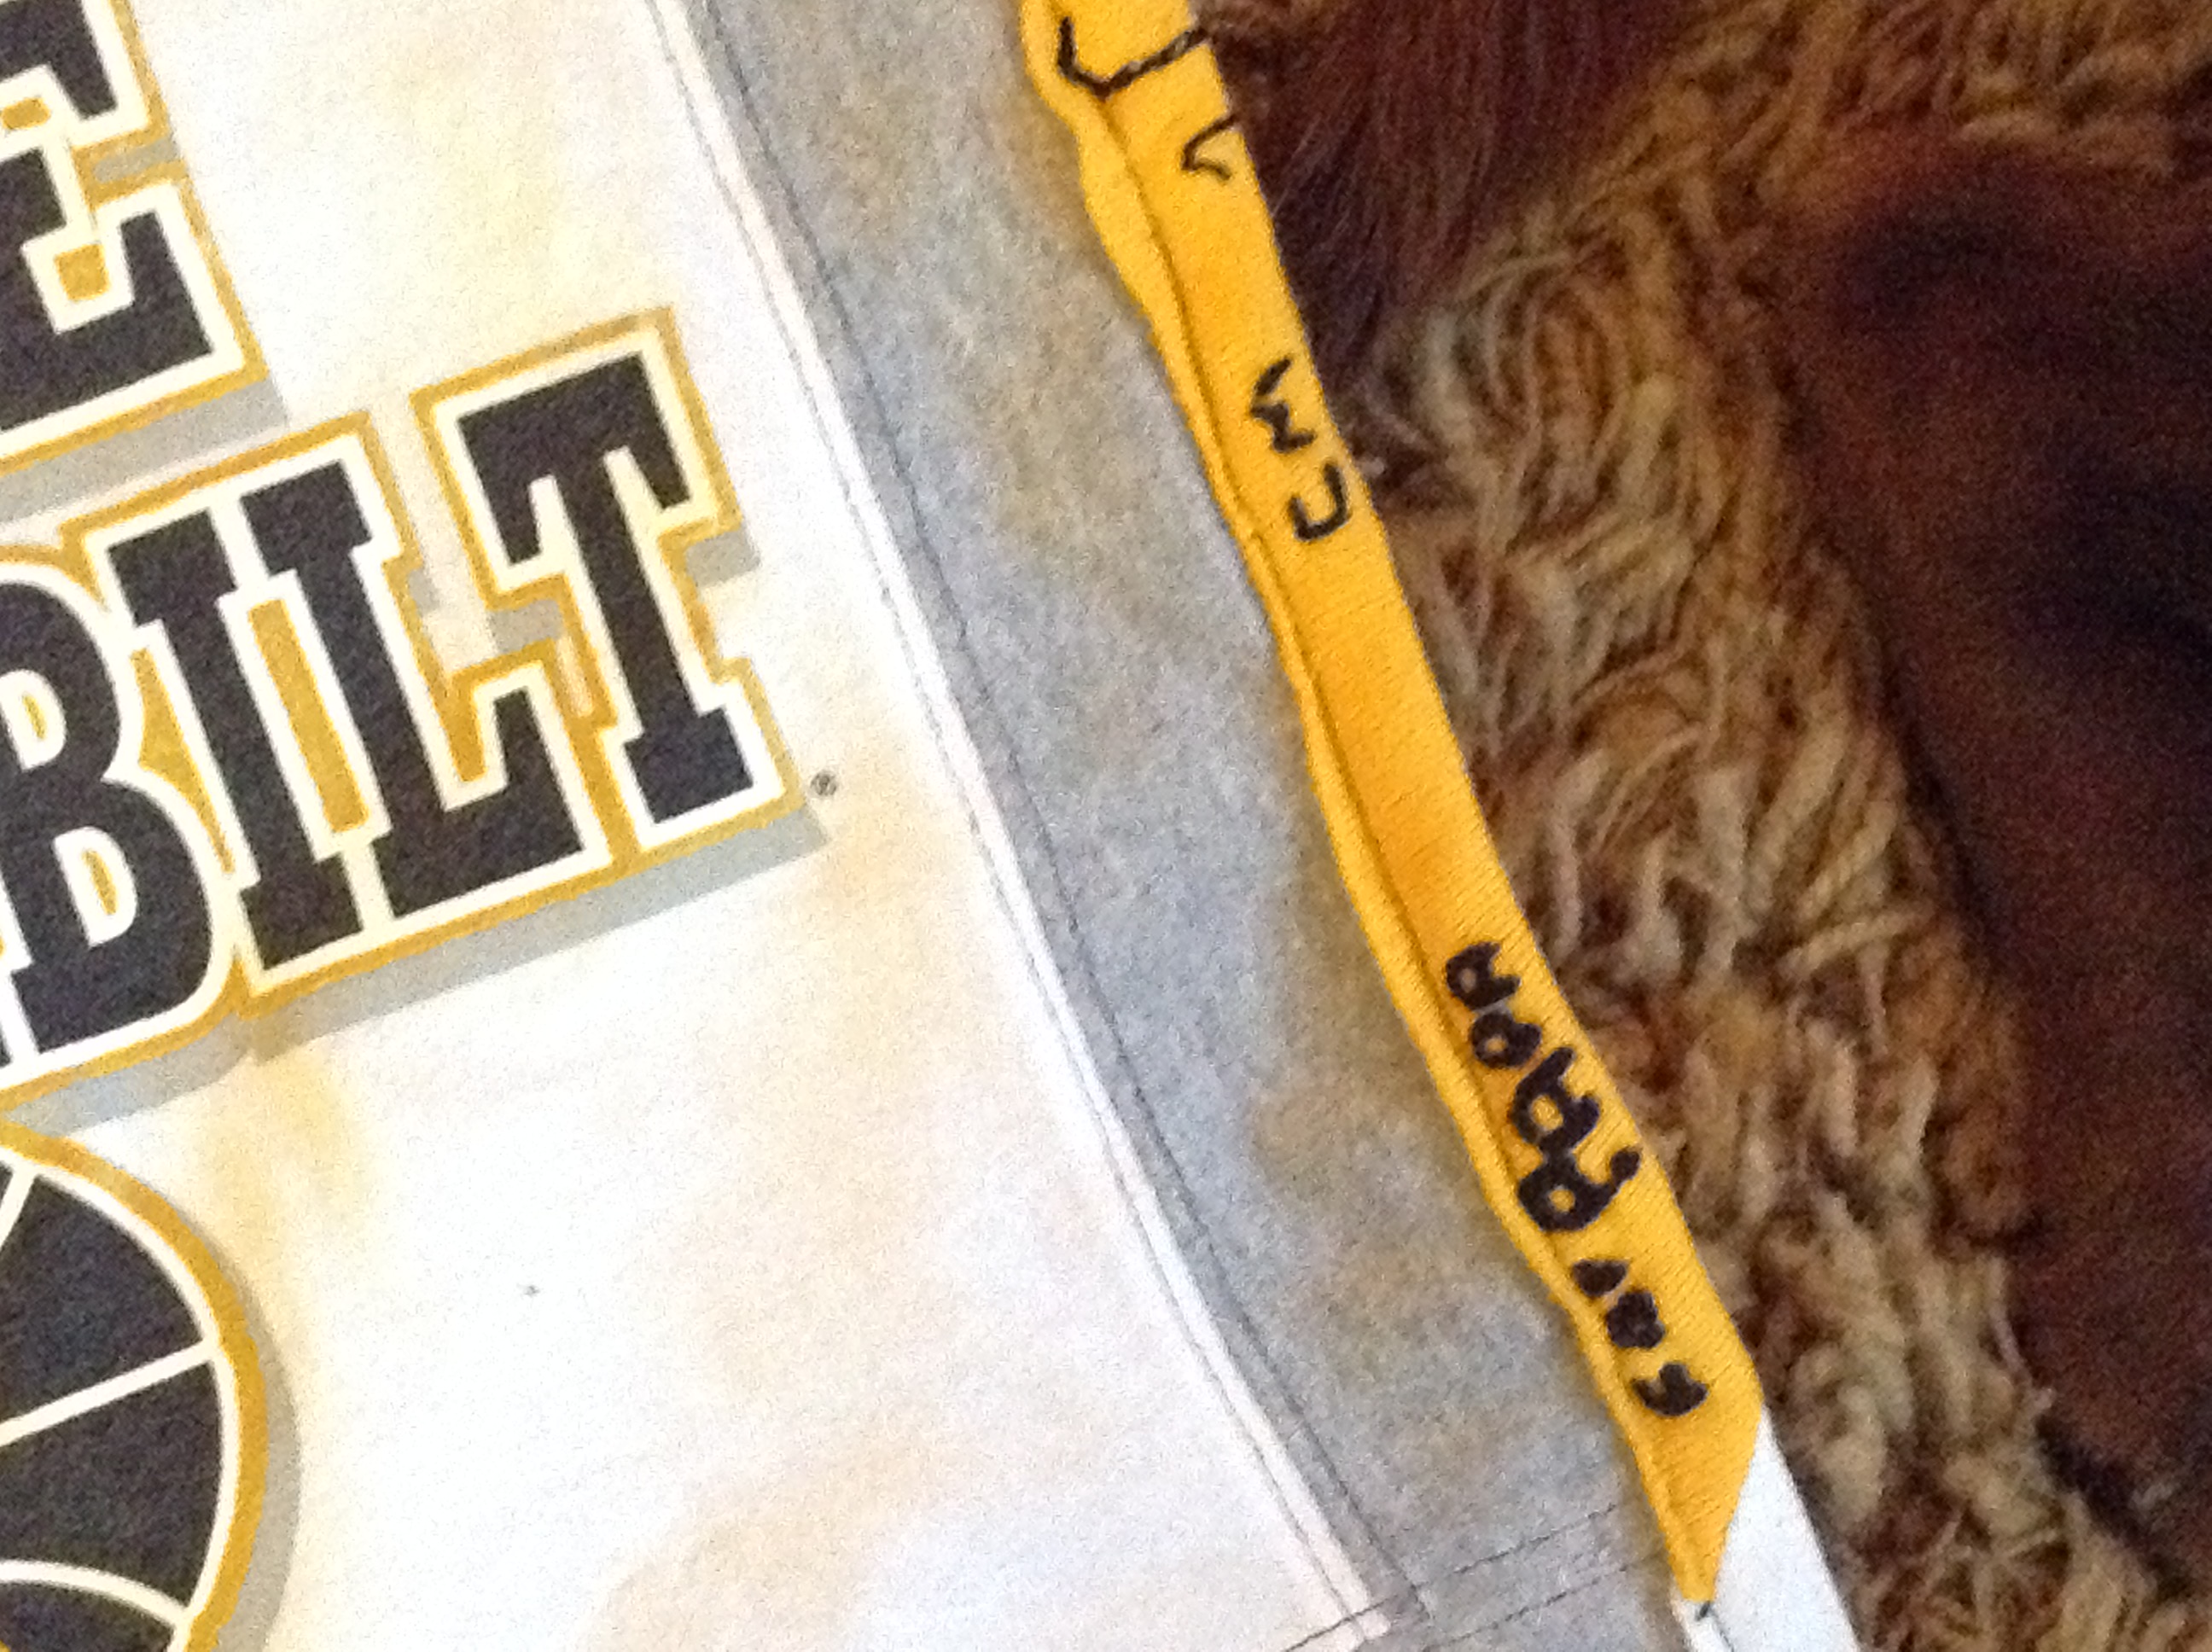


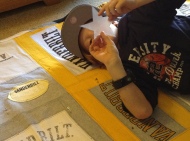 quilting. So, I called in my little elves to help me cut out some stars from scrap fabric. This is where I used the templates – I traced some of the stars from the blocks onto the template and cut those out. The elves cut the stars from some left over t-shirt scraps. There were three of those little guys, but this is the most cooperative one that let me get a sort of decent picture.


 Here is one little piece – I had two of these, so I put one on each side. I simply stitched these to a square that matched up with rows with a contrasting piece of scrap t-shrit behind them to give them some pop. I used a zig-zag stitch – a straight stitch or pretty decorative stitch work here as well. I used a quick shot of basting spray to hold it still while I sewed. There are some pictures of that process for another piece below…


![IMG_3269[1]](https://sewmanysheets.files.wordpress.com/2014/12/img_32691.jpg)


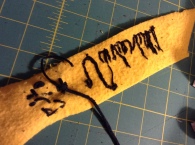
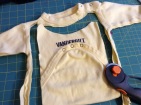
 First you have figure out where you are going to put everything…because once you sew those knits together – you DO NOT want to have to pick them apart…and, if you cut them, you will lose precious inches. I made this step way more time consuming than it needed to be. Let me share with you what I did and then what I might do differently next time. And here is my favorite t-shirt. Papa & Granny bought the t-shirt for my middle son when he was tiny, and it has been repurposed into a bag and then back into a tank top for my dauther. So, there wasn’t much left of it. Luckily, I was able to work it in.
 So, I got that figured out. Then, I had the bright idea of taking pictures and seeing if I could lay them out. That worked pretty well – I took the picture, cropped them to the portion I planned to use, and resized to scale. It was pretty simple to move them around on a
 spreadsheet. I used the Numbers app on my iPad. I liked that b/c I could easily take pictures and add them without having to go back and forth to the desktop. That looked good – so I started laying everything out with my finished draft in hand…didn’t dig it so much…so just kind of played with everything and moved it around
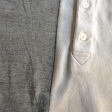
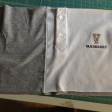
 Lay it out, cut it out. That simple. All you want to deal with right now is the front block. unless there is something on the back that you want to use in your quilt – if that’s the case, then you will want to cut down the side with scissors and cut them separately so you don’t lose something. Save the backs and, if you are anything like me, any potentially usable scraps (sleeves, strips, hems)…for your quilt or other projects. I have some collared shirts in my pile and I love reusing the collars for waistbands. And the buttons…who doesn’t love free buttons?


